Showing posts with label Gradient Manicure. Show all posts

Sunday, 14 June 2015

piCture pOlish - Pink Champagne Gradient

Hi Everyone,

Recently I was inspired by a favourite blogger of mine ChitChat Nails by her gradient creation using PicturePolish Cherish as a base with a pink gradient tip.

I also just happened to have PicturePolish's Cherish, which I absolutely love.  I love neutrals, and this is a perfect nude with a dash of pink with reflective silver flecks.  I fell in love with it as soon as i saw the first swatches appeared on the nail blogging world.

So here is my replicate of ChitChat Nails gradient.  


I went to Sorrento with the hubby this day and he ordered me a Pink Champagne, unbeknownst to him, it complemented my manicure perfectly! LOL


Ingredients Used

  • Base Coat1: Orly Bonder
  • Base Coat2: OPI Ridge Filler
  • Gradient: PicturePolish Cherish
  •                  PicturePolish Coral Reef
  • Top Coat: Poshé

Thanks for stopping by xx 


Monday, 14 May 2012

Gradient Nails My New Thing!

Yes yes, gradients aren't new, but I've just rediscovered them! and I'm loving this one.  Just had to keep looking at my nails to check they were actually mine, couldn't believe it.

This is the second time I have ever tried my hand at sponging technique to create a gradient affect.  My first attempt was oookkkaaayyy but knew I could do better.  So I was determined to sharpen my technique and get a better result. 

So with the help of the Internet I came across a blog that offered a fantastic pictorial tutorial by the lovely Sammy from The Nailasaurus, I gave it another shot and I'm not looking back.  I skipped Step3, but I think Step5 is the most critical step.  Moving the sponge back and forth is what makes the gradient come to life.

Gradient's are affective and so easily to achieve (now that I know how to do it properly).

Here's my latest combination using OPI's A Grape Fit! and a generic black polish I bought from sportsgirl (I think).  I always use OPI Base and Top Coat's.


Hope you liked this and leave a comment below on how you went trying this gradient technique yourself.  I'd love to know what colour combinations you come up with :)

xx Karen

Tuesday, 8 May 2012

Warm Autumn Gradent Mani with Feather Stamps

This look seems to be coming back into popularity at the moment, the Gradient Manicure.  And the best part it's actually really easy and hard to stuff it up! Honestly this was my first attempt at a gradient manicure and as you can see for yourself, it still worked out first time.

I did this mani a while ago, but seeing as i haven't got a video to post up I can only show you in pictures.  Sorry guys, I really want to get into video tutorials, and hopefully I'll recreate another gradient soon and upload a Video Tute.

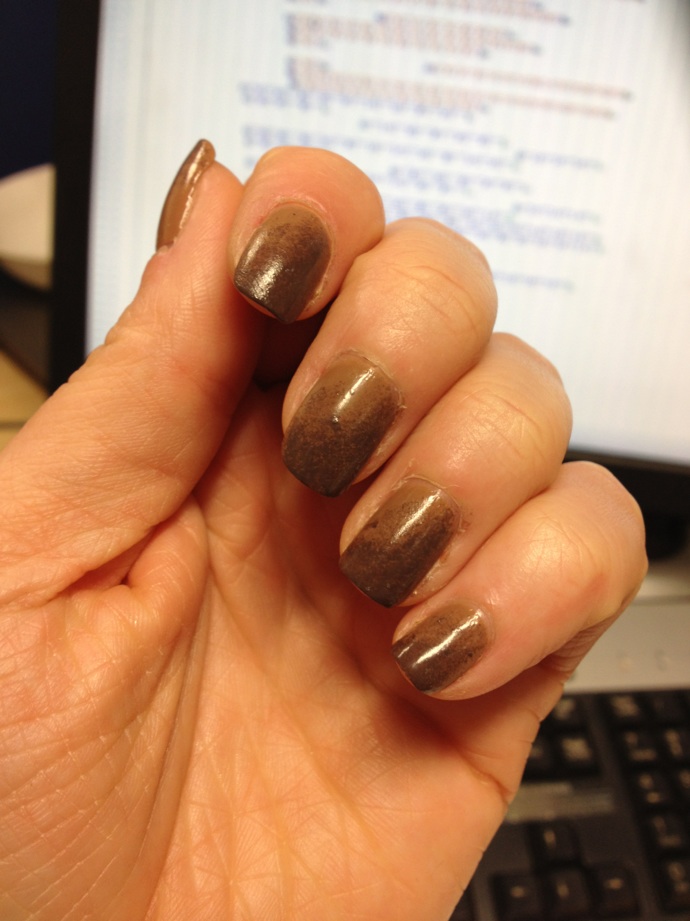
Here are the pictures of the Gradient affect on it's own.
I used 2 coats of OPI San-Tan-Tonio as the base colour, then using a makeup sponge, dabbed on a gradient starting from one corner and working out diagonally with OPI's You Don't Know Jacques.


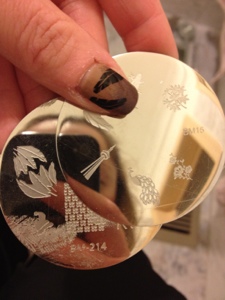
The next day I added my finishing touches using Bundle Monster Image Plates BM15 & BM214


Of course apply Top Coat to seal and protect your manicure.  I used OPI Top Coat and OPI Natural Base Coat to begin with.

Thanks for looking, hope you like this manicure and try it yourself (",)

xx Karen